Refashioning #3: Jersey Tee-Shirt
Hey all!
So, for sone quick context: I was a bit on the heavy-side growing up. And, if you’re a young girl dealing with that sort of thing, it can really affect how you dress. In fact, that’s one of the primary reasons I got into sewing in the first place: I wanted to make clothes that would make me feel more comfortable in my own skin.
Now, for a long time I labored under the common delusion that in order to “look good” I had to hide my trouble-areas. As a result I ended up collecting a fair amount of tunics for my closet. Longer than a standard but too short to be a dress, I still maintain that there’s so much potential to work with them (which is why I still love them!).
But now that I’m older and a little more wiser, I’ve come to embrace the fact that a stylish tee-shirt can made a huge difference - especially if you cut it to the correct proportions.

For this project, we’re going to give these old (favorite) tunics some new life!
Since they’re both made longer, creating a shorter, smaller tee shirt shouldn’t be a problem- but as with most favored clothes, they’re both a bit weathered now.
In order to make something that will last a little longer, we’re going to essentially patchwork the best pieces of both tops, effectively discarding the portions that are threadbare and/or discolored.
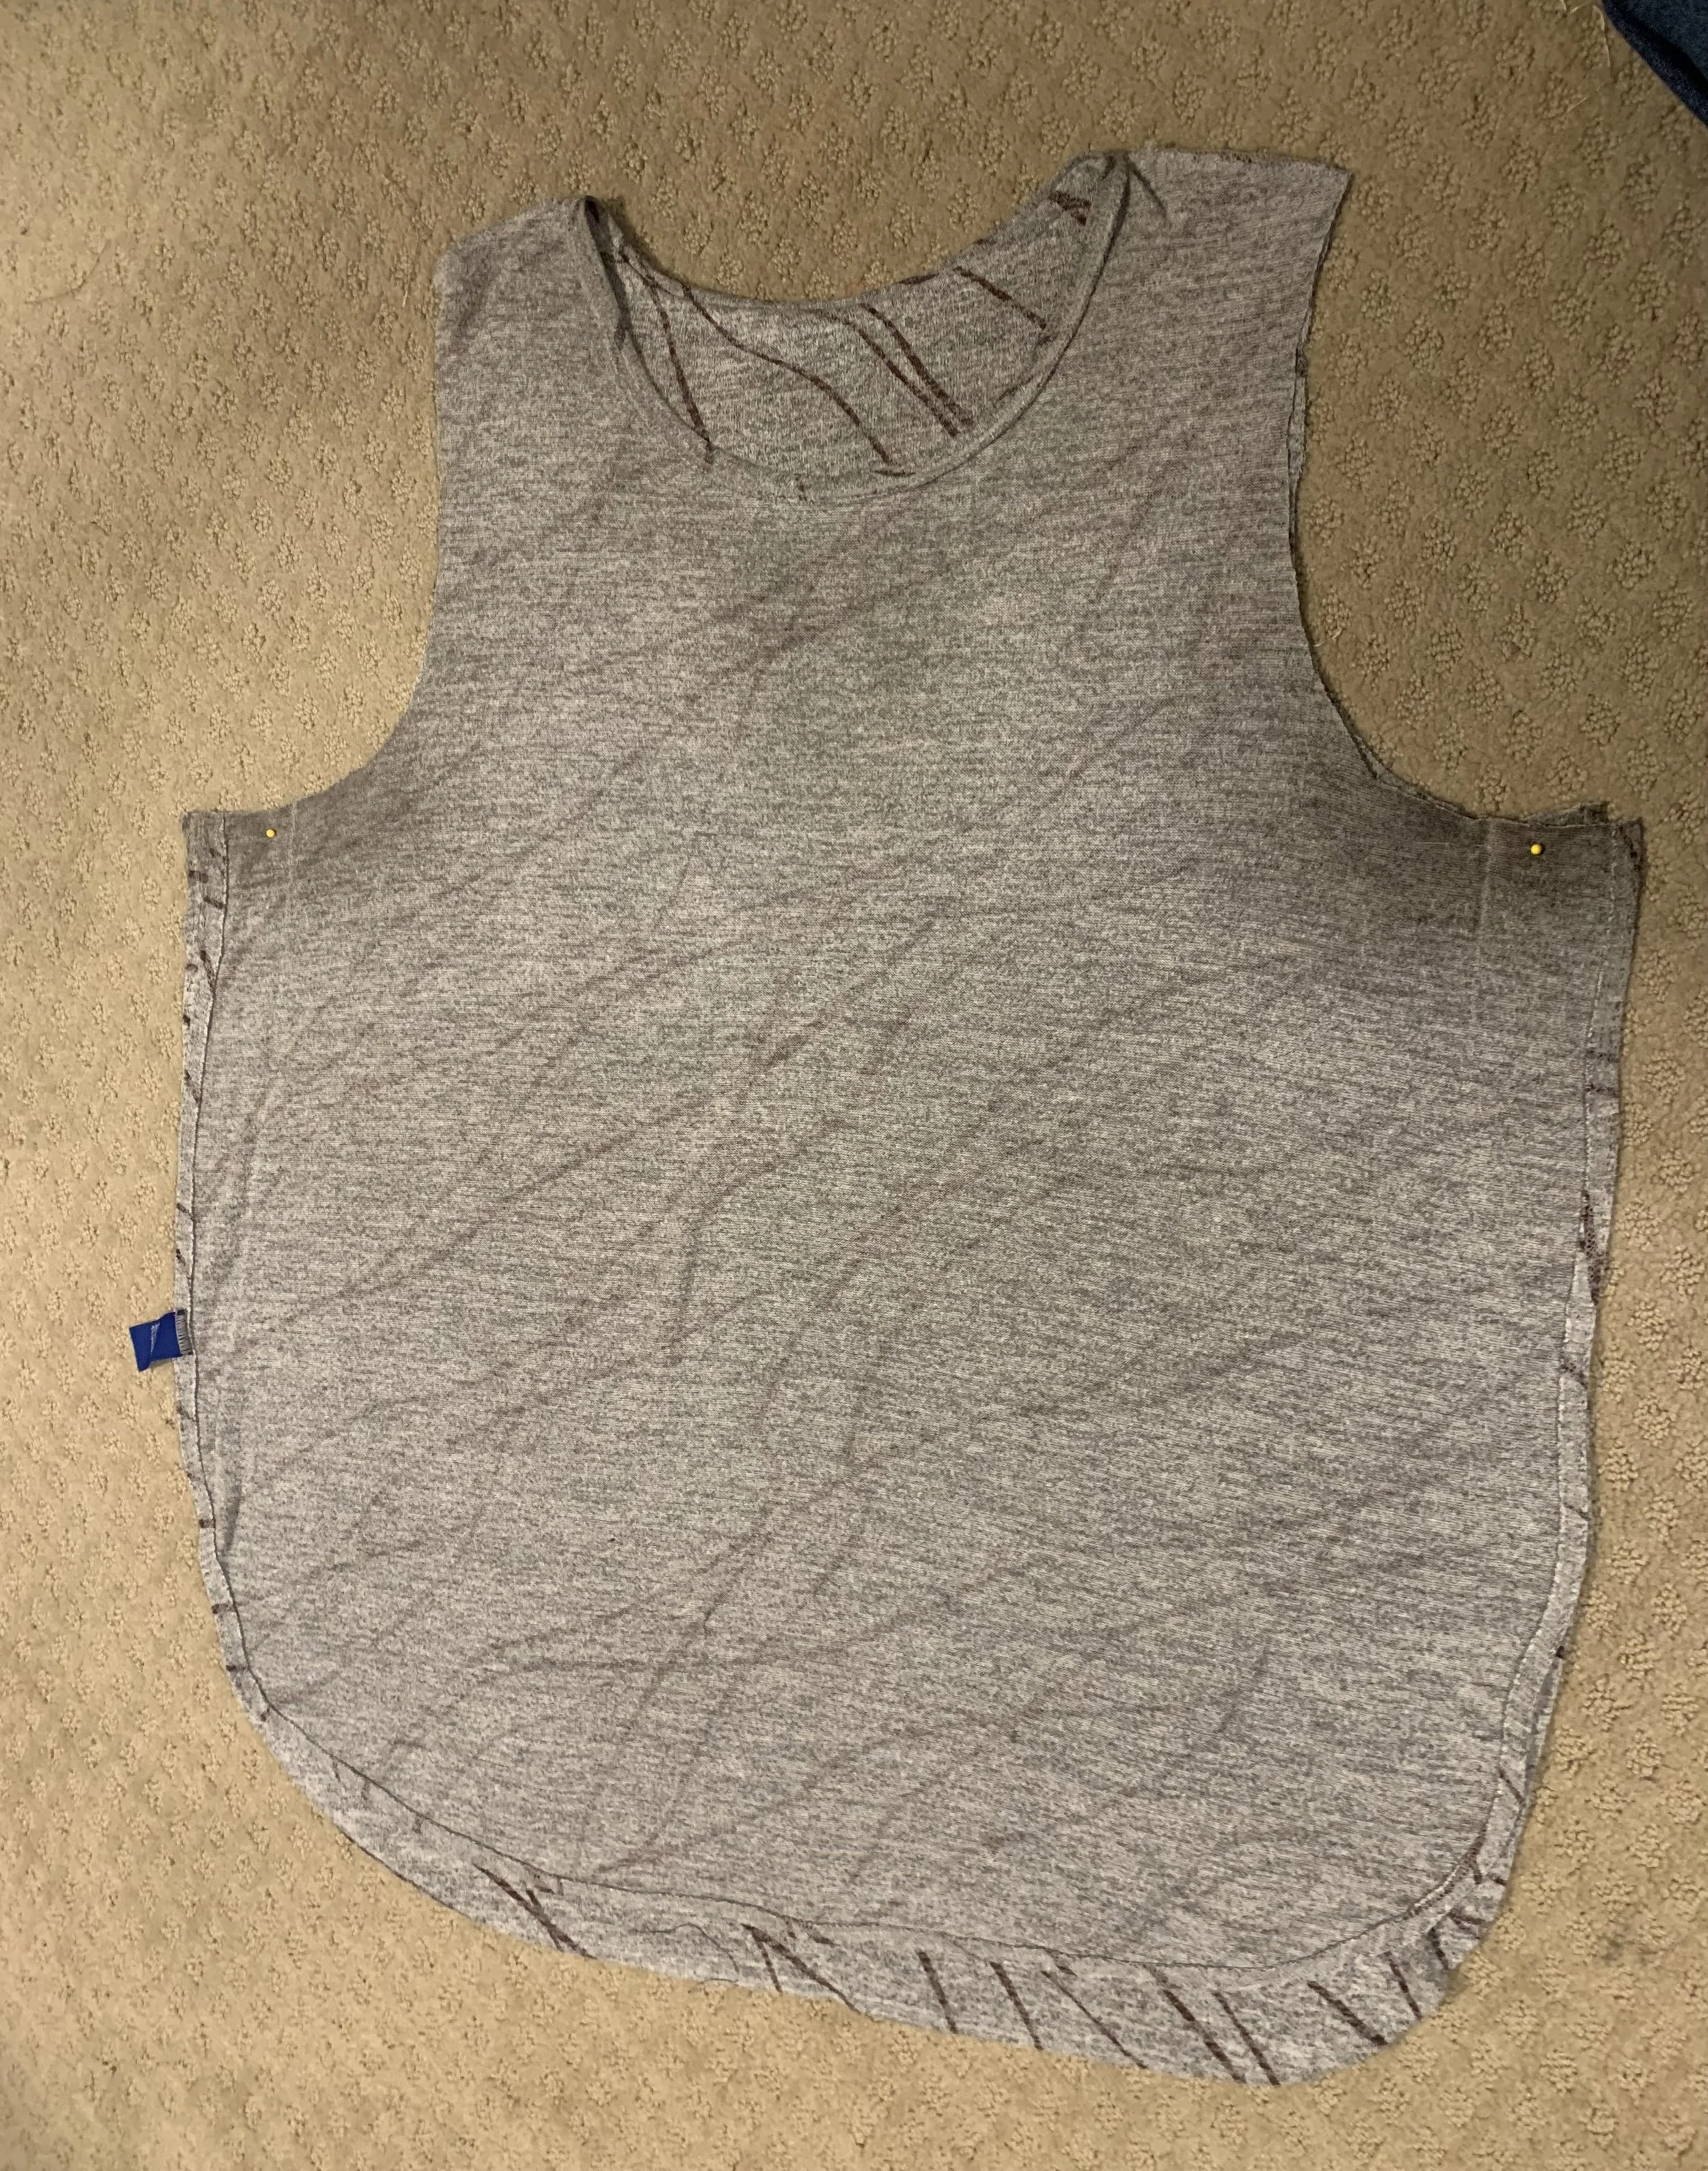
Since the gray tunic is in the best shape (and was actually cut properly!), we’ll be using it as the base for the new shirt. Notice the discolored parts left years of wear: this will give us a visual guide for where to cut away and reshape the top.
(As with most older pieces of clothing, some of the damage -like sweat marks- will never fully come out; they’ve just been used so long. However, we can excise the greater problem areas, and investigate cleaning methods to treat smaller remnants)
We’re also going to adjust the length of the top, because its original pattern is now too long. Originally I bought this too because it was long- and thusly better equipped to hide my trouble areas.
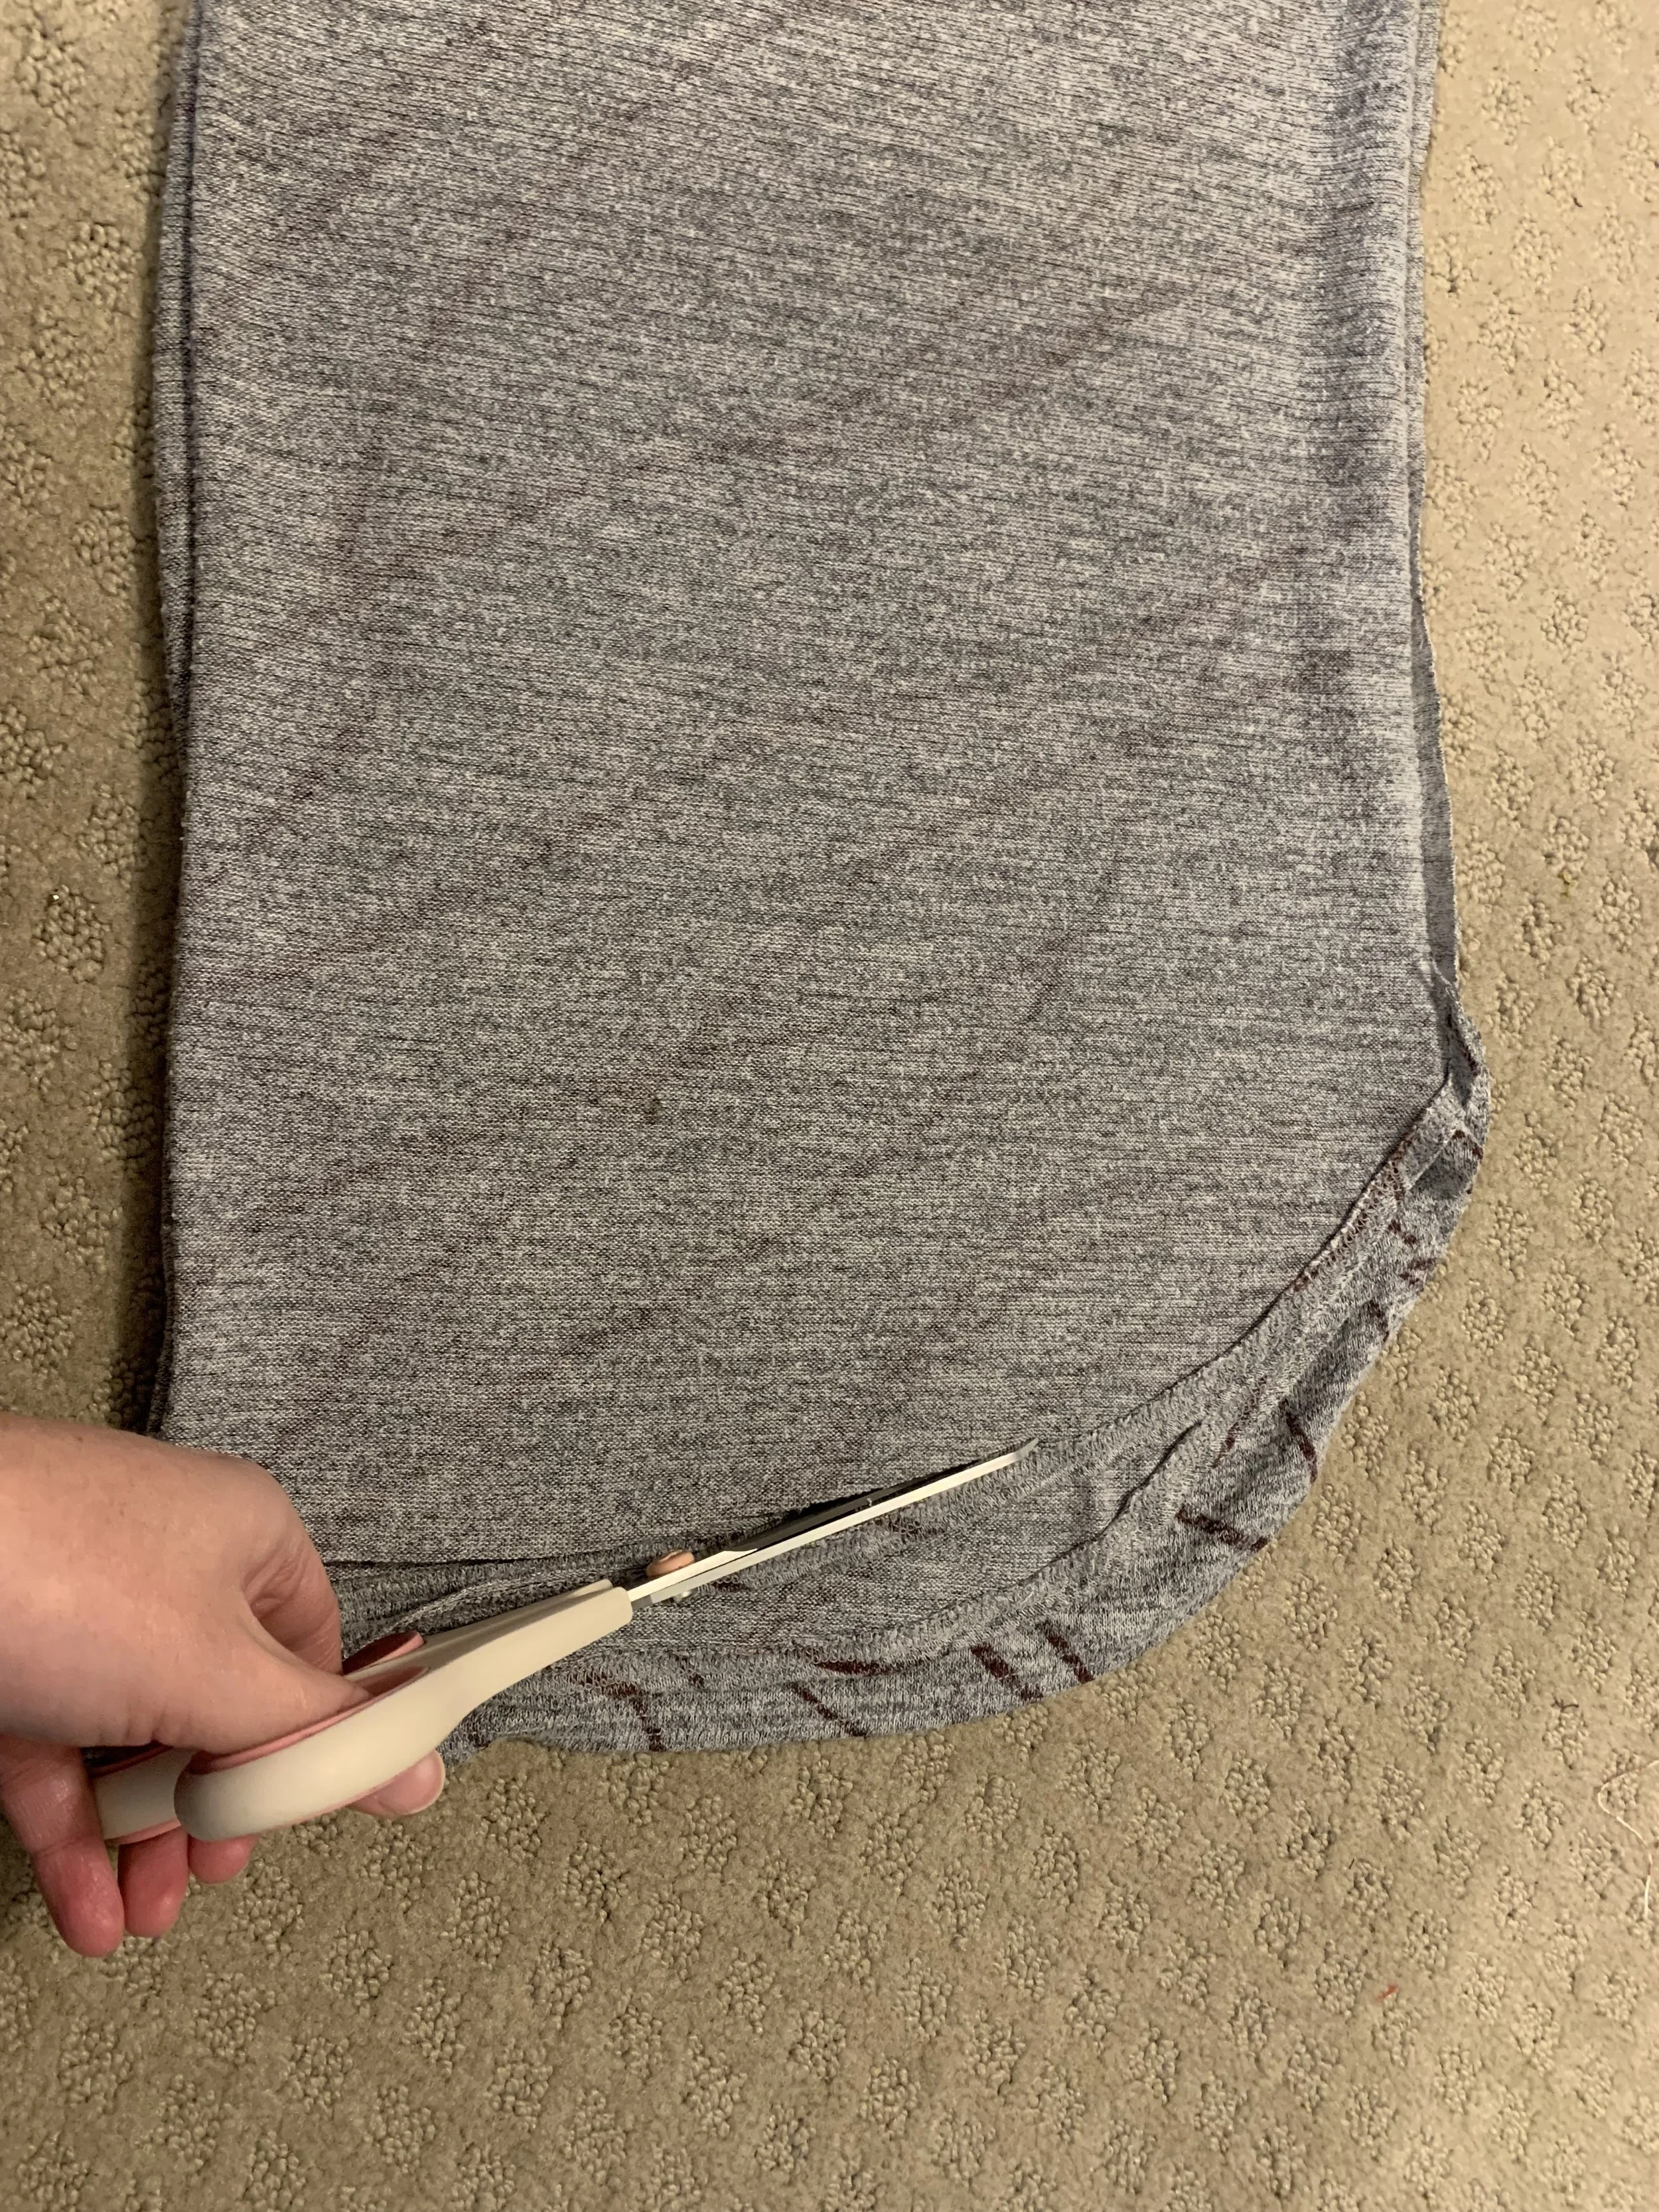
There’s just one problem with this line of thinking: a long, straight cut (with no shaping on the sides) creates girth on the body - or rather the illusion of girth.
What we’re going to do next is take sturdier cuts from the sleeveless top and use the new shape of the new armholes to cut a new set of short sleeves. (Forgot to take pictures of this part- sorry!)
After attaching the new sleeves, and making a few minor adjustments for the fit (which is normal for these types of projects), we’re left with a new shirt!

Originally I planned to change up the neckline as well, and adapt the button down opening into this piece- but the more I thought about it the more I decided to keep the neckline as is. It’s still very firm and has plenty of wear left in it, and I’ve learned the hard way over the years: if the seam isn’t broken, don’t fix it.
I ended up using less of the second top than I expected to; it was in worse shape than I originally thought :(
But overall, I’m content with the look: the colors match very well, and it serves its purpose as something cool and comfy to wear for summer.
It is missing that “pop” however; something on the sleeves, I think, that would elevate it and make it something special. Something crocheted, perhaps..?

In the end this refashion was definitely the shortest one I’ve had so far. Clocking in at just over 3 1/2 hours, I’d probably charge a flat fee of $15 for this type of refashion. The sewing is pretty simple, as the shaping needed is along the side seams, though I would want my client to have at least one fitting to ensure the shoulders and sleeves look right.
What a lot of people in general don’t realize about clothes: there are, in fact, different kinds of cuts for shoulders and sleeves. And, in some cases, refashioning a top means having to recut and literally reshape in certain places. If the pieces are not properly aligned, it leads to puckering, wonky lines, and just generally odd shapes in the clothes.
If I were going to do this project again, there are definitely a few things I would do differently:
I’d research options for strengthen the material; even the gray tunic is still fairly threadbare in places, so I would want to reinforce this base to make sure it lasts a long time.
I’d take a closer look at the tops I have to work with; I didn’t notice the actual state of the second top (the maroon, sleeveless tunic) until I started working (namely the jersey on the back I wanted so badly). It’s the reason I had to make short sleeves, instead of the long, slit-sleeves I originally envisioned.
I’d go ahead and consider any crochet, quilted, knitted, etc. features; now this would definitely up the price, but finer details like these can truly elevate a garment in ways you can’t imagine. This is why designers will pay through the nose for skilled artisans!
While I’m happy with how this project turned out, I think I’m going to revisit it later, and see what I can do to really make it “pop.” If I do I’ll be sure to post back here with any changes, but until then I’ll see you in the next one!